
Have you got a Raspberry Pi XBMC Media Center at the heart of your home theatre setup? Wanting to improve its performance and make it even more powerful than before?
We love the Raspberry Pi, and we’ve already done a number of articles on it over the last few months. We’ve showed you why you need a HTPC, what you need to build your own Raspberry Pi XBMC media center and how to setup Raspbmc. I’ve even interviewed Raspbmc developer Sam Nazarko!
So today, let’s look at few way you can supercharge your Raspberry Pi XBMC media center.
1. Install XBMC to a USB drive for faster menus and fanart
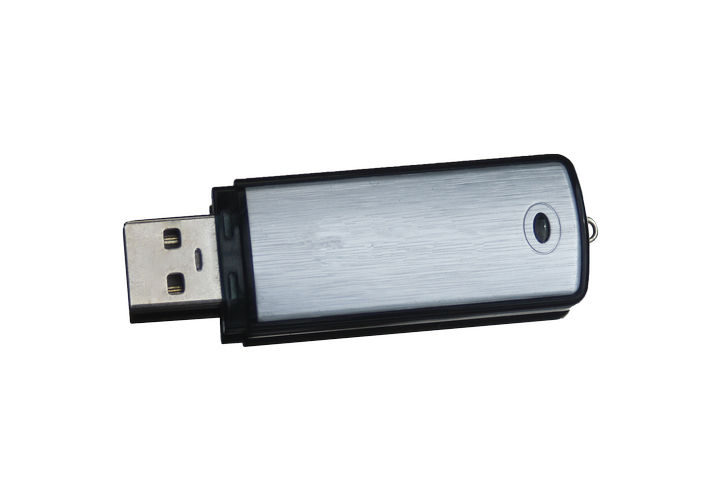
A quick solution to speeding up your Raspberry Pi XBMC setup is to migrate XBMC onto a fast USB 3.0 drive. This will increase the speed of your menus and fanart due to the improved read/write performance offered by the USB 3.0 drive.
How to do it?
Raspbmc makes this easy with its USB installation option built into its Windows installer. Simply select it and follow the instructions.
If you are an OpenELEC user, the steps are far more involved. Team XBMC have written the process up here.
Why does it work?
This is because the maximum read speed on the Raspberry Pi SD Card is slower than what can be achieved by using a good quality USB 3.0 drive such as the Sandisk Extreme series of USB drives. Whilst the USB ports of the Raspberry Pi are technically only USB 2.0, using a USB 3.0 USB drive means that the drive should be capable of saturating the ports, using all available bandwidth.
The SD class refers to the speed of continuous writes to the SD card, but this does not reflect the usage for XBMC – You are more interested in random 4K reads, which is often not published but USB drives are better at this.
2. Get a faster memory card for faster menus and fanart
Many people use whatever spare SD card they have lying around for their Raspberry Pi XBMC setup. However, this could be slowing down your media center unnecessarily.
If you don’t want to go the USB install route, simply replace your slower SD card with one that is at least Class 10, such as this Transcend 32GB Class 10 SDHC card if you have the original Raspberry Pi or the Samsung 32GB Class 10 Micro SD card if you’re lucky enough to have a B+ model.
How to do it?
Simply buy the new card and copy your image across. This can be done with our favourite image tool, Win32DiskImager.
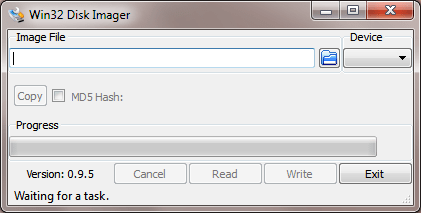
The steps are below:
- Download Win32DiskImager from here.
- Insert your SD card into your PC (via your PC’s SD Card slot or USB Card Reader)
- Type the path where you want the image saved e.g. “C:\SDImage.img” – Don’t forget to include “.img” at the end of the file path
- Click “Read” and the SD card image will be created and stored at the path you specified above
- Safely remove the SD card
- Insert the new card
- Select the drive letter of the new card
- Click “Write”
- Insert the new SD card into your Raspberry Pi and boot.
Why does it work?
Most older SD cards are often Class 4 or maybe Class 6 if you are lucky. The class of the SD Card refers to its minimum write speed. The higher the class, the faster guaranteed write speed you have. This means that data (i.e. Downloads, fanart, etc.) can be copied to the SD card faster, improving overall performance. Additionally, Class 10 Cards typically offer faster read speeds too, meaning faster loading fanart.
3. Lock the XBMC user interface to 720p
I’m afraid this tweak kind of sucks, but if you need to milk every drop of speed out – some compromises must be made. You can’t get blood from a stone.
For those of you who don’t watch 1080p content or don’t own a full HD monitor/television, you should change the XBMC resolution to 720p. This will make the menus and overall media center faster. Please note that video playback will be unaffected and still output at 1080p if your screen supports it.
How to do it?
Go to “Settings > System > Video Output > Resolution” and change the resolution to 720p
Why does it work?
The resolution being output refers to the number of pixels that are being pushed out by the graphics chip. The higher this is, the more work the Raspberry Pi needs to do. Whilst video decoding is handled on the GPU, generating the skin, overlays, fanart, animations all need to involve both the CPU and GPU. The more pixels it needs to push, the harder it must word and the slower the system gets.
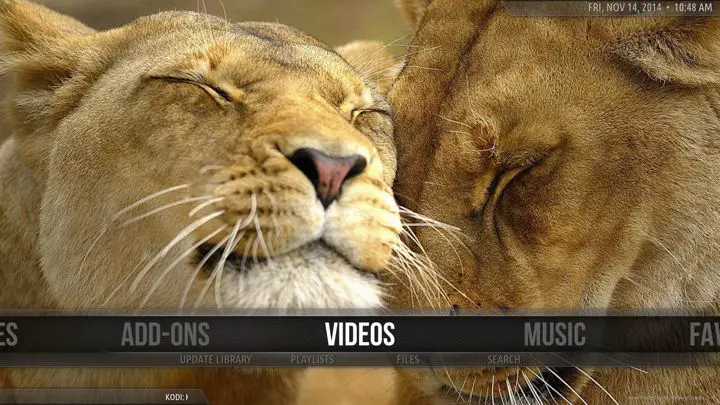
4. Choose a lightweight XBMC skin
The skin you choose has a massive impact on how fast your Raspberry Pi XBMC setup is. Thankfully, the increased interest in Raspberry Pi media centers has seen many skins focusing on being lightweight over graphic fanciness. Whilst the default Confluence skin is fine, there are a number of other lightweight skins that are better suited to the Raspberry Pi’s limited hardware.
Our personal favourite is Amber. Not only is it incredibly attractive and offers some solid customisation options, it is also light as a feather. You definitely will love it like we do.
Other recommended choices are Aeon Nox 5, Metropolis, and Quartz.
How to do it?
Go to “Settings>Appearance>Skins>Get More” and find Amber and click on it to download.
When downloaded, it will prompt you to switch skins. Choose “Yes” and enjoy!
Why does it work?
Skins have a lot to do with how much load is on the Raspberry Pi. Heavy skins often use a lot of large Fanart images and many smaller images such as icons for media type, codec, etc. Having to load all and animate all of these places additional strain on your Raspberry Pi Media Center. Given the Raspberry Pi’s limited hardware, this slows down the system considerably.
5. Disable thumbnail extraction
XBMC is configured to automatically extract thumbnails from your video content if there is not a thumbnail already. On most XBMC systems, this is normally not an issue but it consumes quite a lot of CPU cycles on the Raspberry Pi. Disabling this feature will speed up your library navigation.
How to do it?
Go to Settings menu and select Video > File lists > disable “Extract thumbnail and video information”.
Why does it work?
XBMC is configured to automatically extract thumbnails from your video content if there is not a thumbnail already. On most XBMC systems, this is normally not an issue but it consumes quite a lot of CPU cycles on the Raspberry Pi.
6. Overclock your Raspberry Pi Media Center
Boost performance safely by pushing the Raspberry Pi beyond its stock clock speed.
How to do it?
Assuming you have a Raspbmc installation, you can safely overclock your Raspberry Pi XBMC media center through Raspbmc Settings. Go to “Programs > Raspbmc Settings > System Configuration”. Under “System Performance Profile”, select Fast to overclock the system. There are higher overclocks available (i.e. super) but there have been reports of SD card corruption when using these higher overclock settings. Using a USB installation can help avoid these issues.
Why does it work?
Increasing the performance variables of the Raspberry Pi’s chip enables it to complete more work per CPU cycle
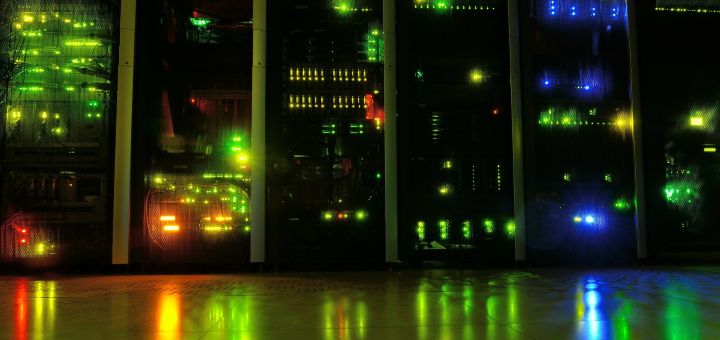
7. Use NFS instead of SMB shares for streaming files from your network
![]()
If you stream your media from a Network Attached Storage (NAS) device such as those by Synology or QNAP, switch over to NFS instead of SMB
How to do it?
Enable NFS shares on your NAS – Visit your vendor’s site for instructions as this varies by manufacturer/Operating system. Then, when configuring your network shares in XBMC, select NFS share.
Why does it work?
The SMB networking protocol has more network overhead and uses much more of the Raspberry Pi’s CPU, so NFS is faster as it lowers both the hardware and bandwidth requirements
8. Switch to Ethernet
Wireless is great and all but it is prone to throughput issues leading to video buffering problems and delays when playing media from the network or scraping fanart. Switching to Ethernet offers a typically faster and more stable network connection.
How to do it?
Plug in an Ethernet cable into your Raspberry Pi and connect the other end directly to your router.
Why does it work?
Ethernet isn’t prone to interference in the same ways wireless is. Eliminating the interference factor drastically improve performance of your Raspberry Pi Media Center’s network-dependent functions.
Conclusion
So we’ve given you several ways to improve the performance of your Raspberry Pi Media Center. How many have you tried? Have you got any others you have found? Let us know in the comments below.
And as always, if you like this post, please like and share.

I think your info on the 720p tweak is not quite correct. You can adjust the UI to 720p to help things along, but keep your video output to1080p because you wont need the speed boost while watching a movie