There’s few things as devastating as losing a whole bunch of precious files due to an accidental deletion or disk failure. It’s happened to a more youthful and foolish version of me, losing a whole bunch of photos and videos.
Whilst it may seem like a nightmare, all’s not lost. Using some free data recovery software, you can attempt to restore your lost data.
Whilst it’s not always 100% effective, if there’s a chance you can save your files, it’s worth a shot.
This guide will take you through how to recover deleted files using free software and hopefully save your data.
How is it Possible to Recover Deleted Files?
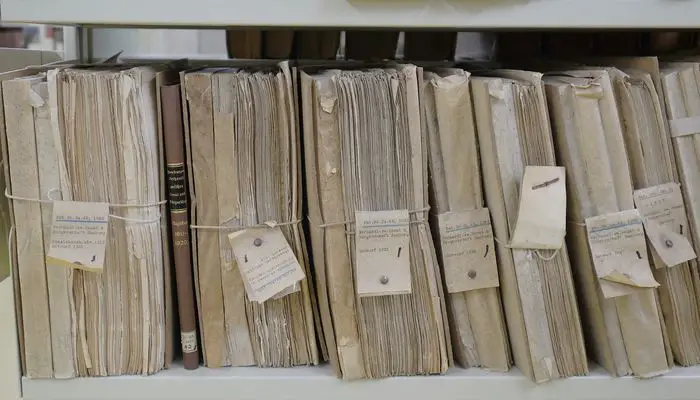
It’s pretty common for people to think when a file is deleted, it’s gone forever. However, that’s not the case.
When a file is deleted, it’s generally not removed completely. The operating system simply marks the file as deleted and allows the space originally occupied by the file to be overwritten.
File recovery software relies on this to work correctly, scanning drives in order to find where the deleted files are located.
The chance of a file being successfully recovered depends on whether the space where the deleted file was has been overwritten, with the more data being written to a drive after deletion, the lower the chance of successful recovery.
How to Recover Deleted Files
Try to Minimize Writing to the Target Drive
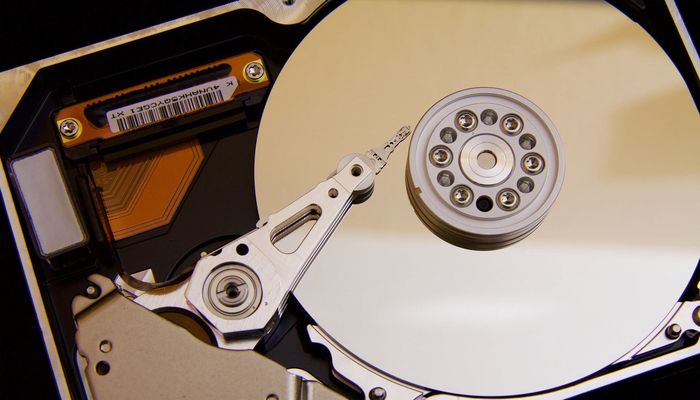
The first step is to prevent anything from wiring to the disk if possible. If possible, try to make the drive read-only (like moving the write lock on an SD card)
As I mentioned before, writing to the drive reduces the chance of successful file recovery as you risk overwriting the deleted file.
Install File Recovery Software
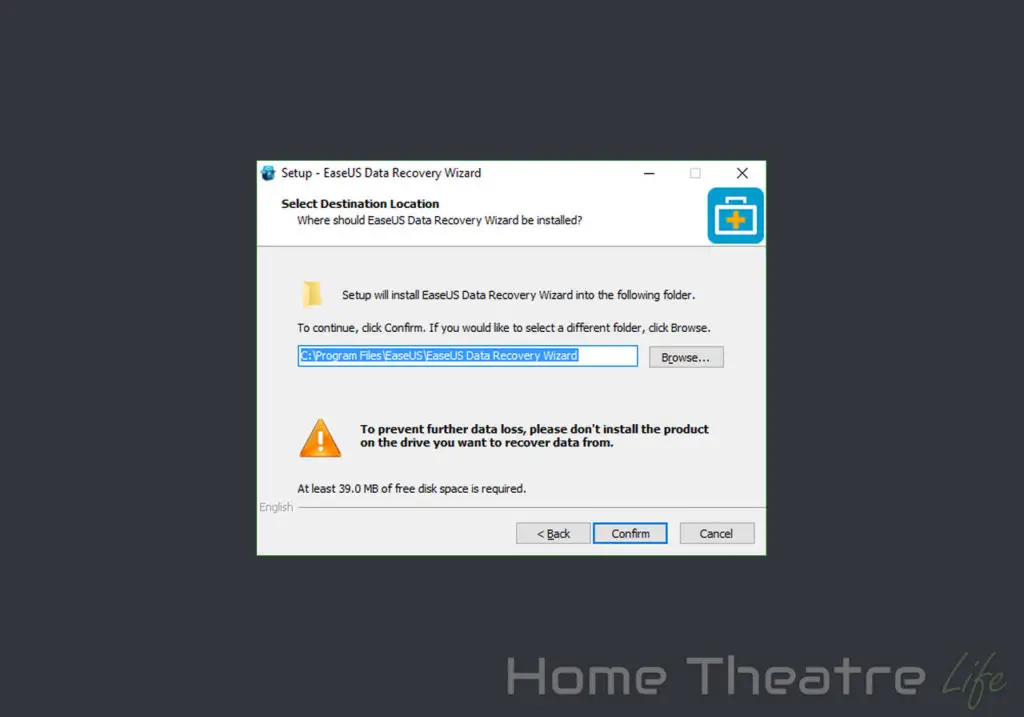
The next step in File recovery is using data recovery software like the free EaseUS Data Recovery application (which can be used to recover up to 2GB of data) that I’ll be using for this guide. However, the steps will essentially be the same using any other data recovery application.
So first download the application from the EaseUS site, install it and then run it. Make sure you don’t install it to the drive that you’re wanting to recover data from as this would add more writes that we want to avoid.
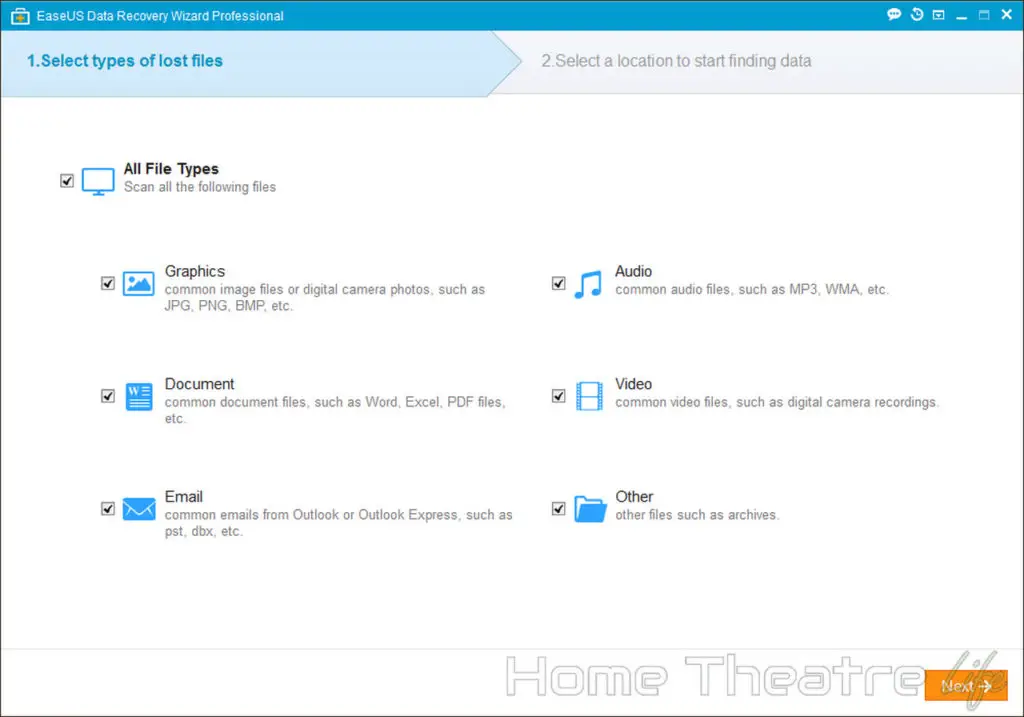
Choose What Type of Data You’re Trying to Recover
Select which filetypes you trying to recover, from music to photos.
Scan The Drive
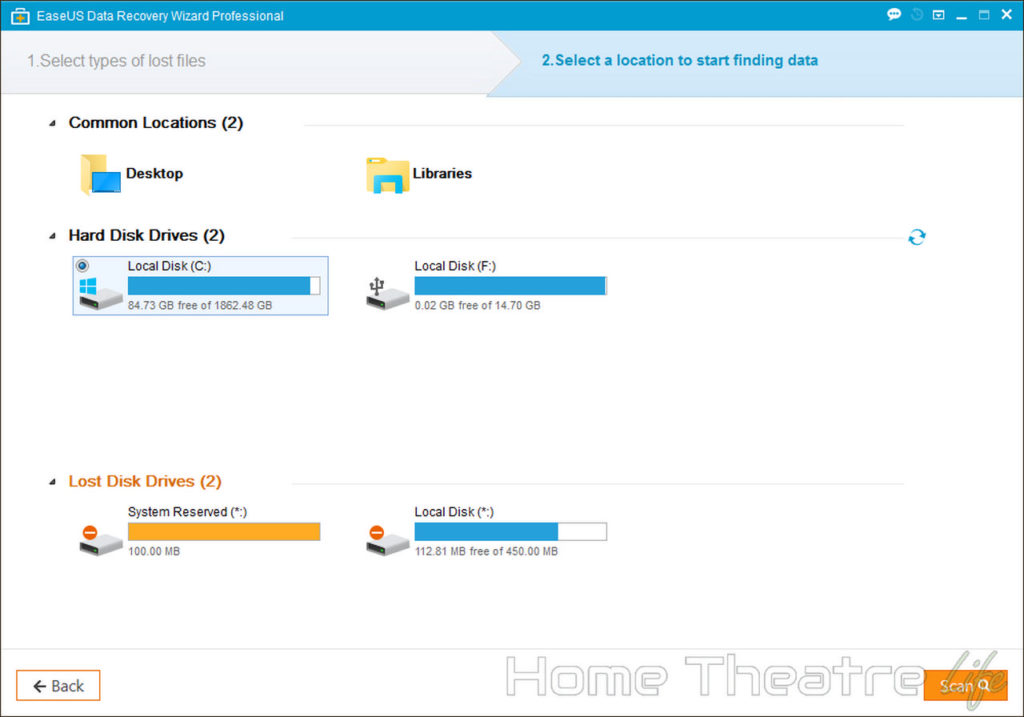
EaseUS Data Recovery Wizard will show you all the drives that it can currently scan. Simply choose the one you’re trying to recover from and click “Scan”.
In my case, I’m going to be scanning my Kingston Flash drive (mounted as F:) which gets lots of files added and removed, making it an ideal guinea pig for data recovery.
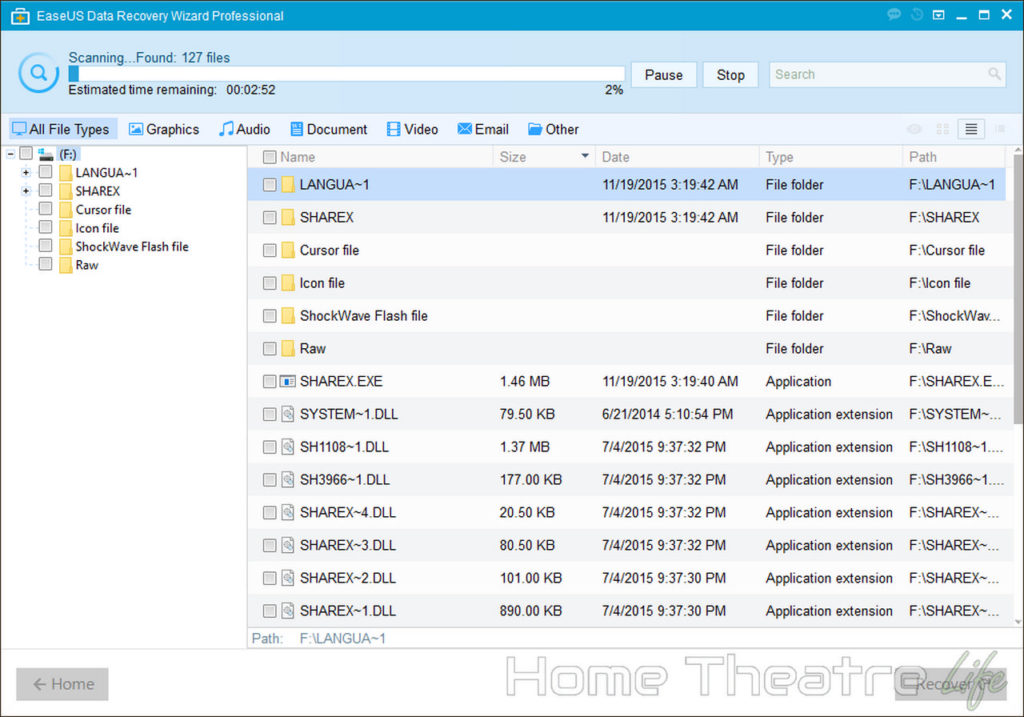
EaseUS Data Recovery Wizard starts by doing a quick scan first, reporting all the files and folders it has found.
If you can’t find the files you’re after, you can click the “Deep Scan” button to perform a slower yet more thorough scan.
Recover Your Files!
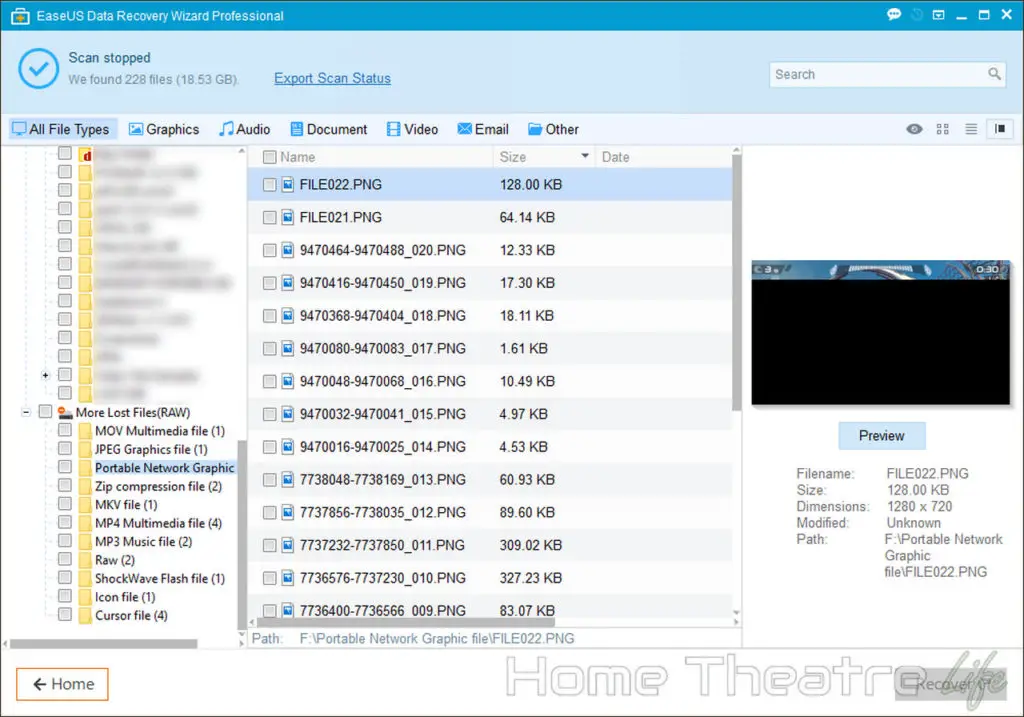
Browse through all the files that the application has found and see if you can recover the files you were after.
You’ll probably notice that most of the files won’t have their original filenames. This is expected behavior, as the deleted file may lose its filename in the process so you’ll need to try and use the Preview window to make sure you’re recovering the right files.
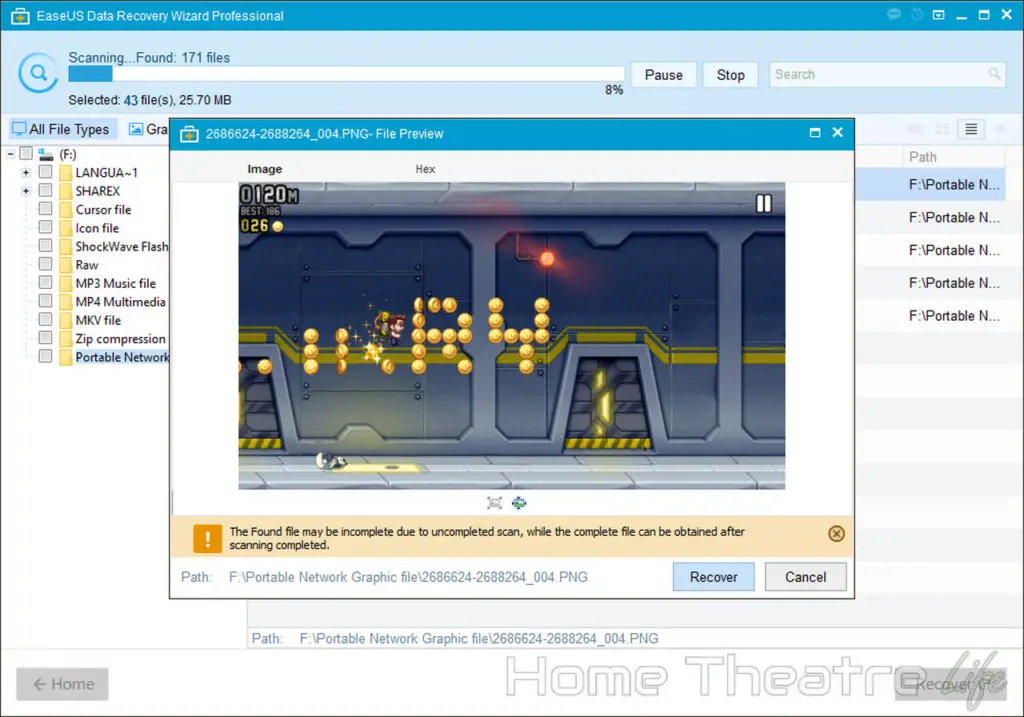
I attempted to recover a number of the files that I’d deleted long ago with decent results. Filetype and how long ago the file was deleted had a big impact on the likelihood of successful recovery. The more recently the file was deleted, the more likely the file could be successfully recovered.
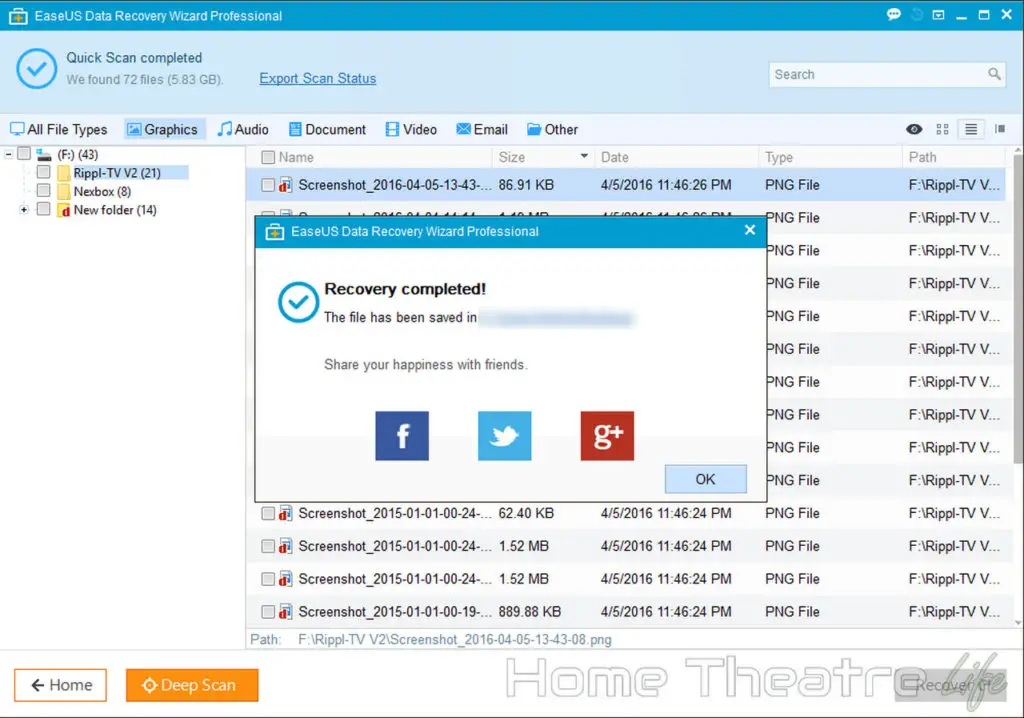
Additionally, the simpler the filetype, the more likely it would be recovered successfully. I had fantastic success with photos and documents, whilst video files was more of a mixed bag with some videos recovering fine whilst others froze and stuttered during playback. This is because video files are typically quite sensitive to corrupt data.
(Hopefully) Celebrate Then Back Up Everything

Backup. Backup. Backup.
Hopefully, you’ve been able to restore your deleted files. Now, make sure you back them up!
This is probably the most important lesson to learn. Make sure you keep backups of everything important to make sure you don’t need to need to recover files in the first place.
With storage being so cheap (both locally and via cloud providers like Dropbox), there’s really no excuse to not have all your precious files protected in case of disaster.
Conclusion
I hope this guide’s helped and you’ve been able to recover your files.
Losing files sucks and I’ve learned the hard way that file recovery software is an excellent tool but it’s no silver bullet.
Have you been able to successfully recover files before? Let me know in the comments!
This article was sponsored by EaseUS. However, all opinions are my own.


